The immersive web has the potential to revolutionize our daily lives by providing interactive and engaging experiences through augmented reality (AR). One area where the immersive web could be incredibly useful is in the kitchen, where AR can simplify and enhance the process of following a recipe. This is why I’m excited to introduce my latest feature, ‘AR Chef,’ which takes any recipe blog and transforms the ingredients and directions into a pass-through AR experience with hand-tracking.
Using Passthrough
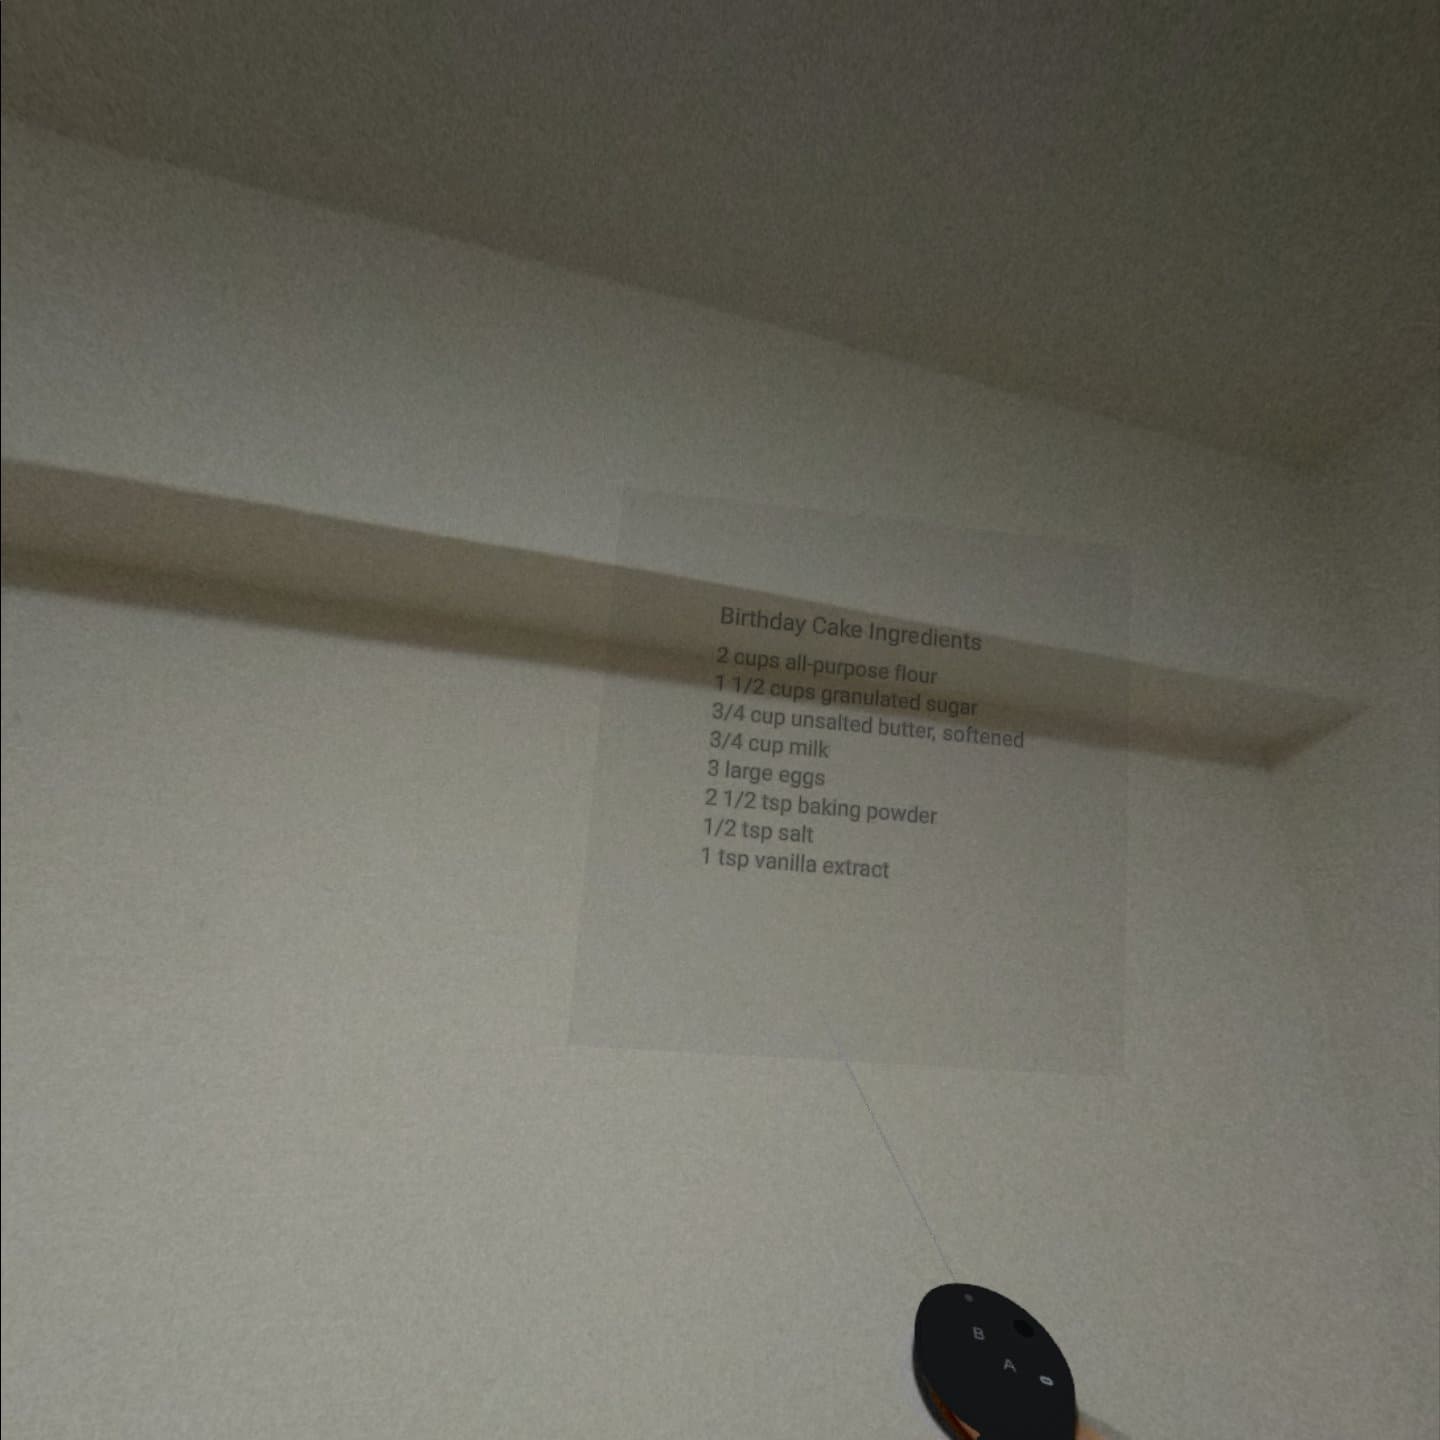
In my test on the Quest 2, as shown above, color passthrough is not available. However, Meta is planning to release the Quest 3 with color passthrough. This tech allows us to layer virtual objects in our environment while relying on the headset’s camera to see the world around us. As more hardware with color passthrough and hand-tracking becomes available, the possibilities for overlaying information during tasks are virtually endless. You can probably imagine many use cases where it would be helpful to overlay some information while you are doing a task and we can build these types of interactions directly into web pages! More Info about Incoming Hardware from SkarredGhost

Approach
I’m going to be trying out coconut-xr’s UI component library koestlich for this and then use react xr to get quick hand tracking.
When visiting a compatible site with a device that supports immersive AR, users will see a button in the lower right corner.

By selecting this option using hand-tracking, users can enter immersive AR mode, and the ingredients and directions will appear in their field of view. They can then move the items as needed, keeping the list within sight while they work in the kitchen.
Sample Recipe: ChatGPT Birthday Cake
As an example, let’s bake ourselves a cake!
Ingredients
- 2 cups all-purpose flour
- 1 tbsp baking powder
- 1/2 cup unsalted butter, softened
- 1 cup sugar
- 3 large eggs
- 2 tsp vanilla extract
- 1 cup whole milk
Normally we would be grabbing these things and referring back to our screen, but with passthrough, we can keep this list in our field of view.
Test on Quest Pro courtesy of Kojiro Yano
We can still have all the things we would normally have in traditional recipe blog posts these days like affiliate links and long-winded, touching personal stories.
Instructions
-
Preheat your oven to 350°F (175°C) and grease two 9-inch (23 cm) round cake pans. Optionally, you can line the bottoms with parchment paper for easier removal.
-
In a large mixing bowl, whisk together 2 cups of flour, 1 cup of sugar, and 1 tbsp of baking powder until well combined.
-
In a separate mixing bowl, beat 1/2 cup of softened unsalted butter until creamy. Gradually add 1 cup of sugar to the butter, and continue to beat until light and fluffy.
-
Add 3 large eggs to the butter and sugar mixture, one at a time, making sure each egg is fully incorporated before adding the next one. Stir in 2 tsp of vanilla extract.
-
Gradually add the dry ingredients to the wet ingredients in 3 parts, alternating with 1 cup of whole milk. Start and end with the dry ingredients. Mix until just combined, being careful not to overmix the batter.
-
Divide the batter evenly between the two prepared cake pans. Smooth the tops with a spatula.
-
Bake in the preheated oven for 25-30 minutes or until a toothpick inserted into the center of the cakes comes out clean. The cakes should be golden brown and spring back when lightly pressed.
-
Allow the cakes to cool in the pans for about 10 minutes before transferring them to a wire rack to cool completely.
-
Once the cakes are completely cooled, prepare your favorite frosting (e.g., buttercream or whipped cream) and spread a layer on top of one cake layer. Place the second cake layer on top, and cover the entire cake with frosting. Decorate with sprinkles, edible flowers, or other decorations as desired.
-
Serve the cake and enjoy the celebration!